A layered beet and citrus salad made with tender greens, pickled red onions, and toasted sesame seeds. Robust and easy to make, this is a great centerpiece for early spring gatherings and festive spreads.

What’s in Season in March: A Produce Guide
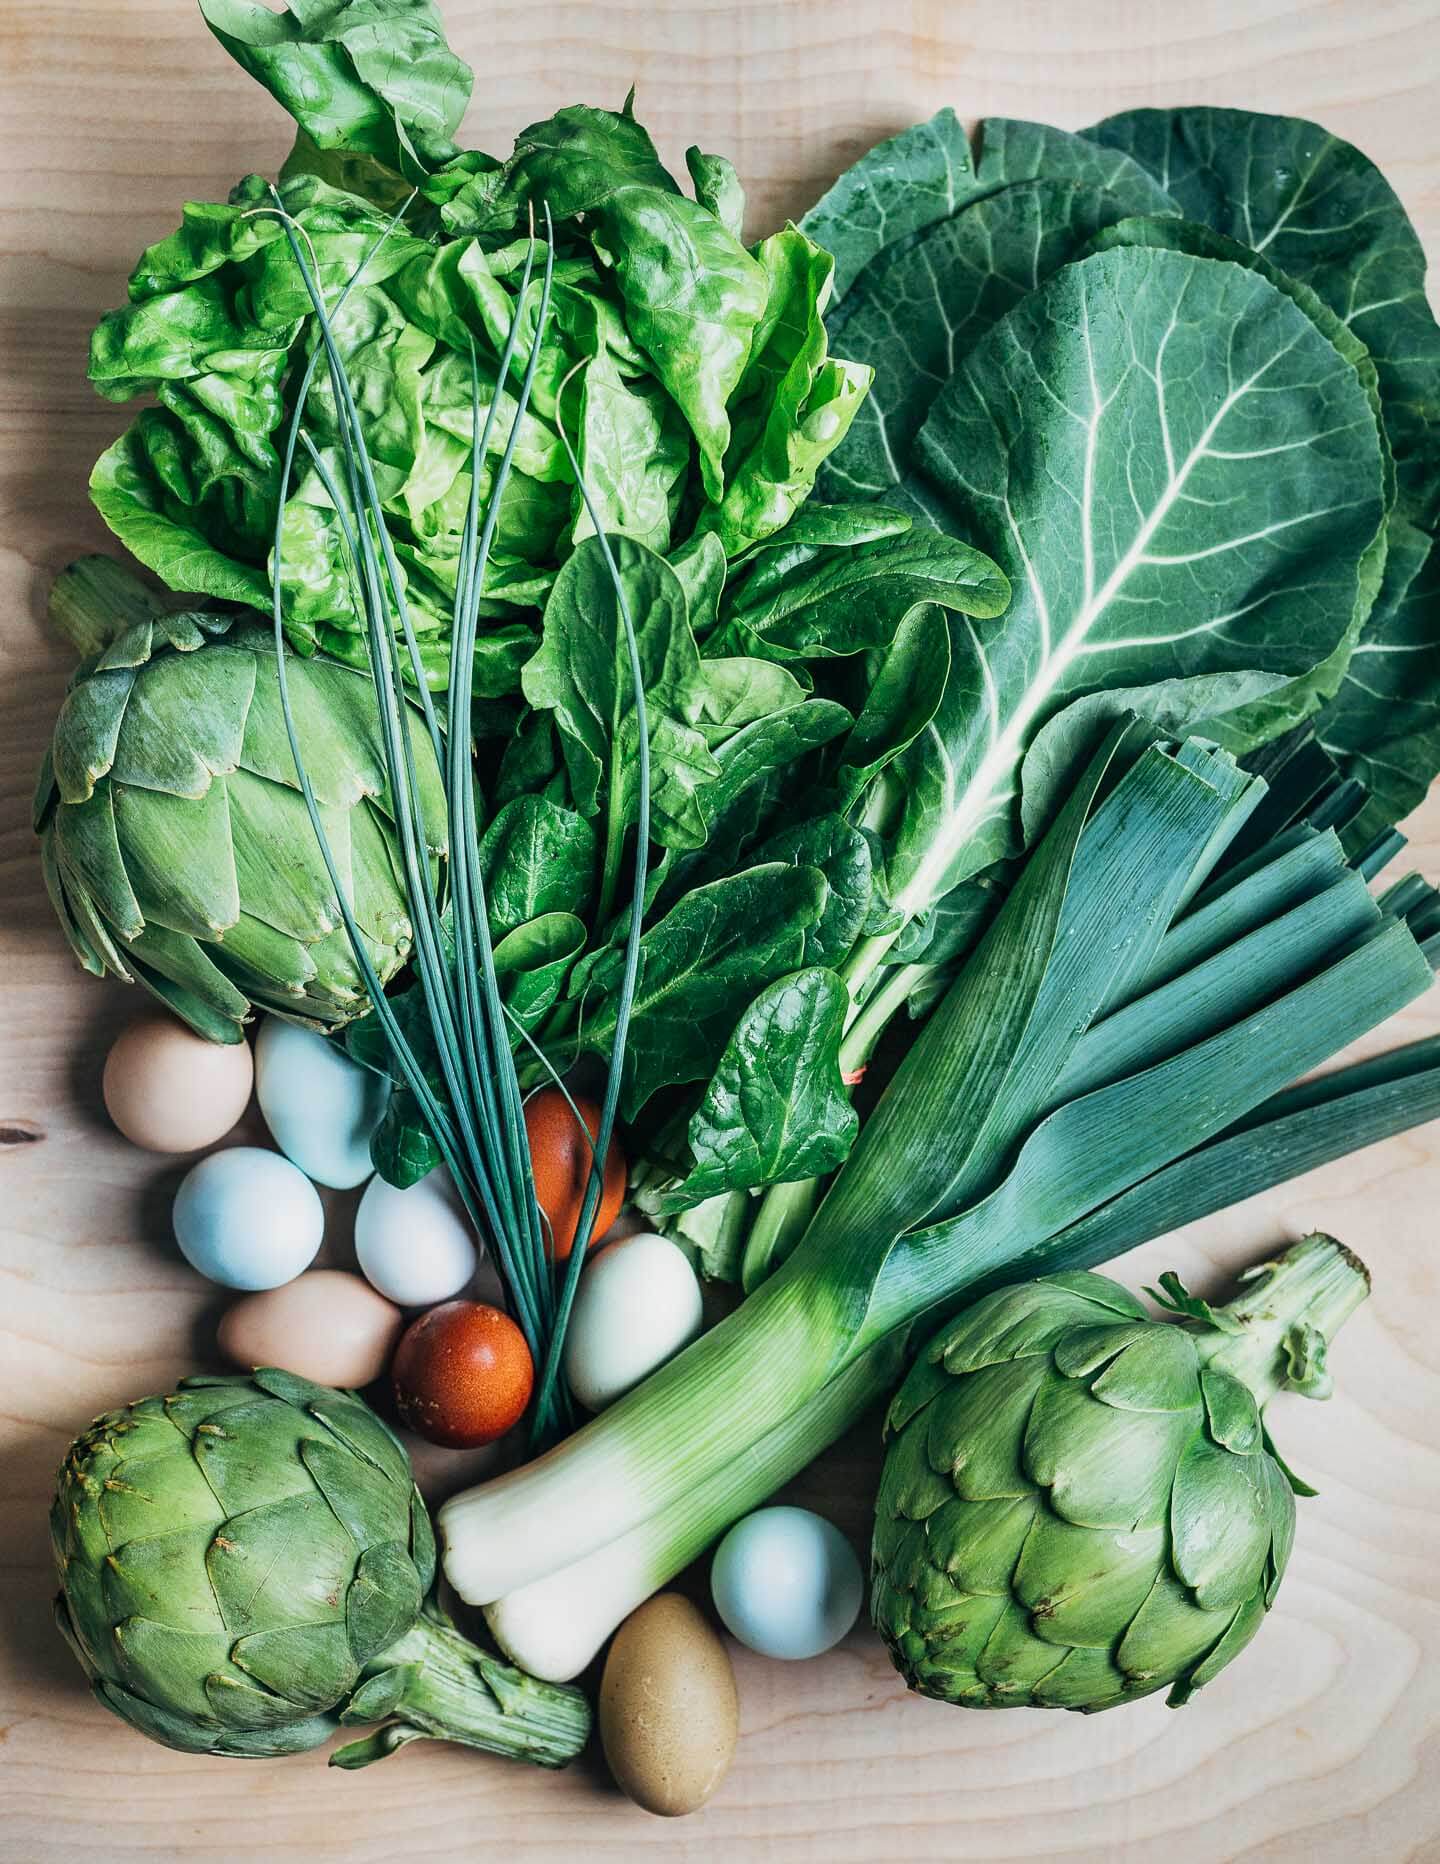
A March produce guide to what’s fresh and delicious in the early spring, with tips and recipe inspiration. What’s in season in March? Artichokes, chives, collards, lettuce, and spinach.
Chicken Pot Pie with Winter Vegetables
This spin on classic chicken pot pie is made with winter vegetables and features an herby roux with chicken thighs, tender carrots, rutabagas, and turnips topped with a sheet of lofty, golden puff pastry.

Chicken Tortilla Soup
Chicken tortilla soup cooks up in 30 minutes, making it an ideal weeknight meal. Blended with fresh chilies, tomatoes, and stale tortillas, and topped with shredded chicken, avocado, radishes, and cilantro, tortilla soup has wonderful flavor and spicy depth.

French Onion Mac and Cheese
Inspired by the classic flavor of French onion soup, this French onion mac and cheese features deeply caramelized onions, melty Gruyere, and golden panko for a classic comfort food mash up.